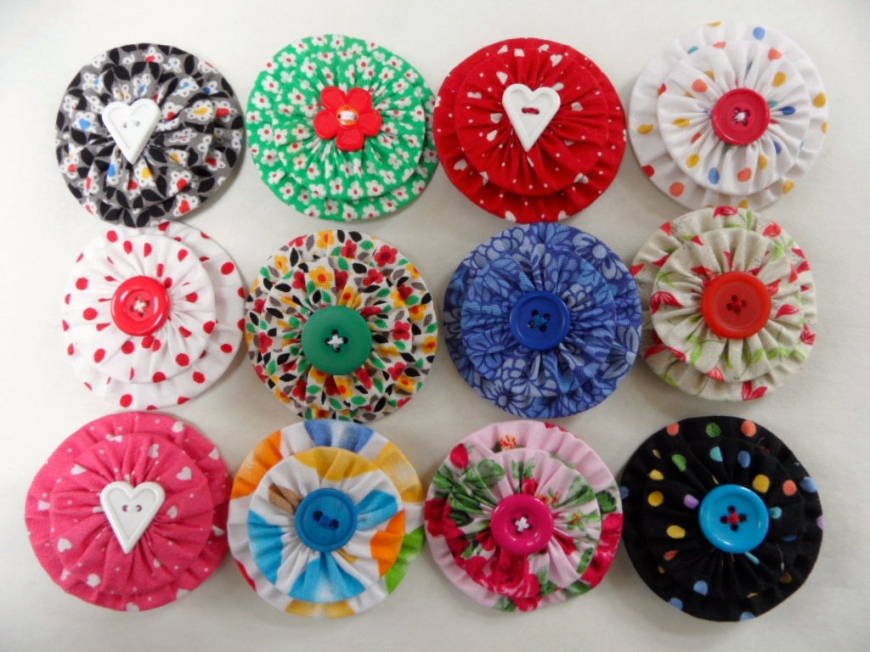
I am constantly messing around in my craft room, playing with fabric’s, thinking up bits and bobs to make that might be of interest. This is my latest little “number” I have come up with… simple little FLOWER BADGES! They are really very easy to make, you might even want to show your children, grand children how to make them just in case you need some thing to do with them over the summer holidays “IF” there are rainy days and you can’t go outside and play! The children might want to make a few to give to their friends, or save up a little stash ready for Christmas presents! Ideal to give to a favourite lady teacher maybe?
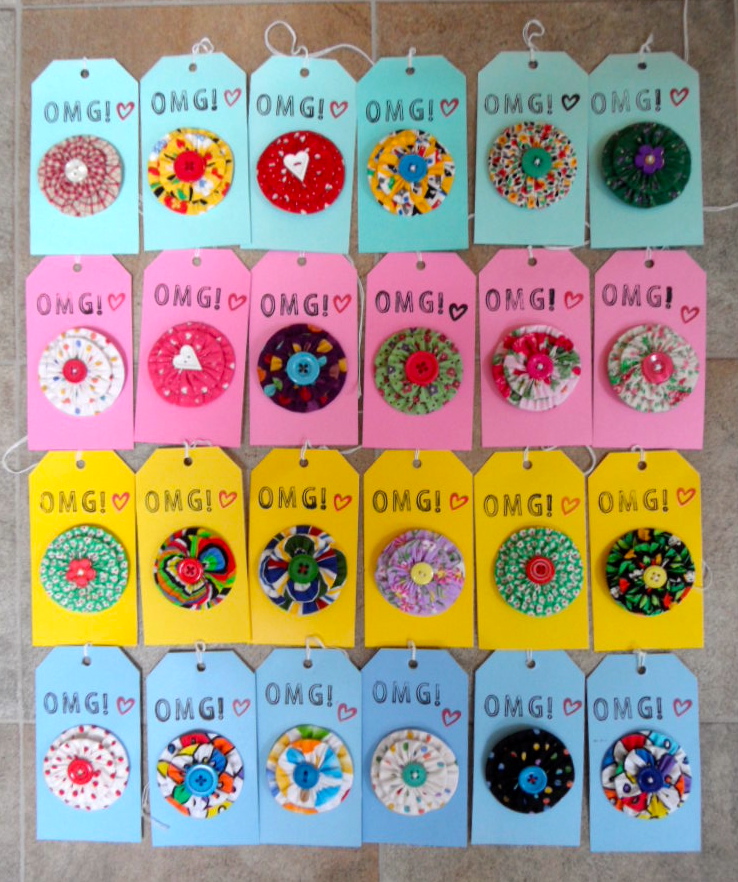
Just a little selection to show the different colours of fabric and style of buttons…
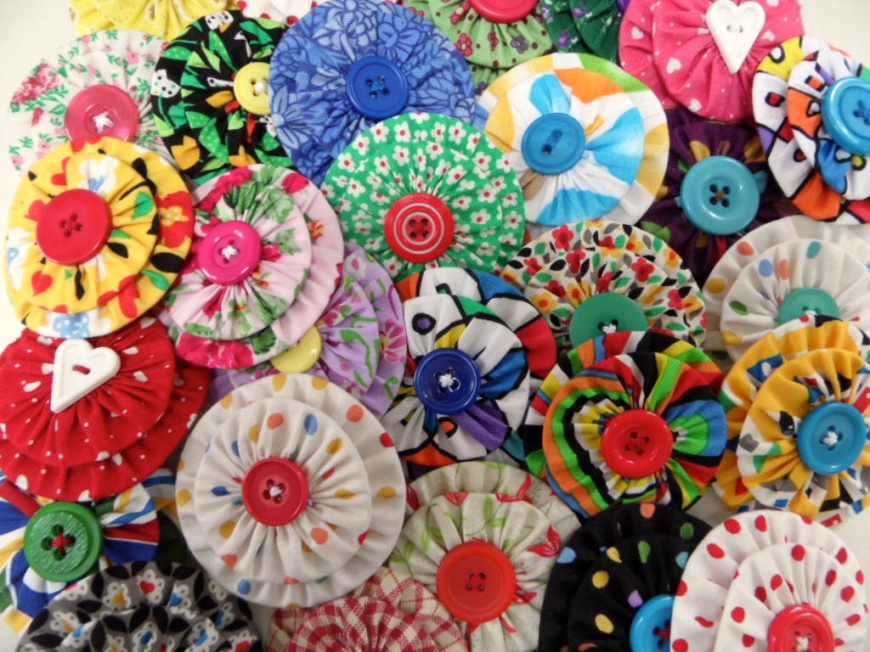
All in a heap!
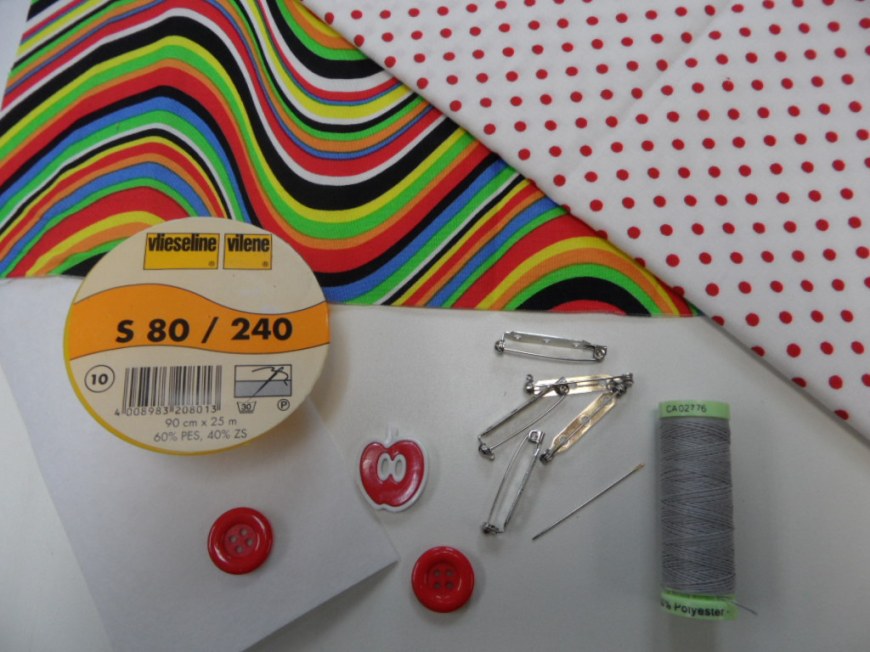
First of all you will need to gather up a few “ingredients”
FABRIC
I have used P&Q (patchwork and quilting) weight 100% cotton fabric for my badges, but I guess you could use almost any fabric. However, it might be a good idea to avoid using those fabric’s that are very fine, like organza, voile, fine silk, dress linings, as they do tend to be very flimsy, fray like mad and slip and slide all over the place… might be a bit frustrating for youngsters to use. Naturally big thick fabric’s such as tweed, thick wool, denim, and canvas would be much too heavy for a little project such as this. There are some very pretty, funky, retro, bright and cheerful designs that are produced for craft, absolutely perfect for this project.
BUTTONS
Go through your button box to see if you have any suitable. Most craft shops sell single buttons so you can buy a little selection of bright colours. Look out for cute shapes, I found some sliced apples, and a few hearts to add a bit of interest to some of the badges. Don’t get them too small, you need them to be no smaller than a 5p piece. Also buy them with holes, either two or four, buttons with shanks do not work well in this project.
STIF PELMET VILENE
You will need to buy some VILENE (or a similar product) I found the VILENE s80/240 (some people refer to is as PELMET VILENE) perfect as your needle will pass through easily. I did try template plastic but it did not work very well as it was too difficult to sew through.
BROOCH BACKS
These can be bought very reasonably at about £1 a pack
NEEDLE AND THREAD
I would recommend buying a reel of strong top stitch – button hole thread, normal thread is not quite strong enough when you pull the threads tight. As an alternative you could always try and double-up thread. A normal general purpose needle is perfectly adequate, no fancy needle required!
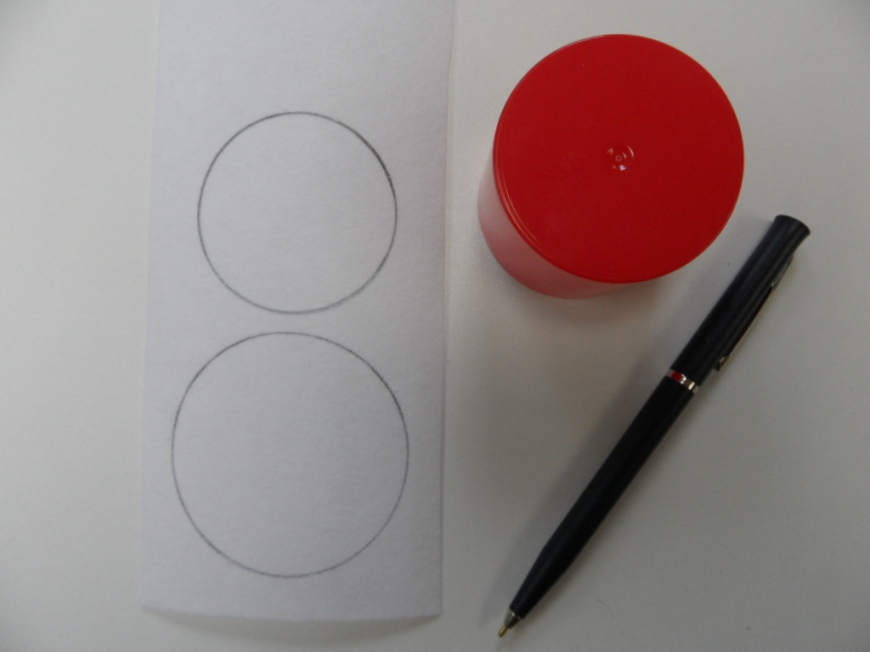
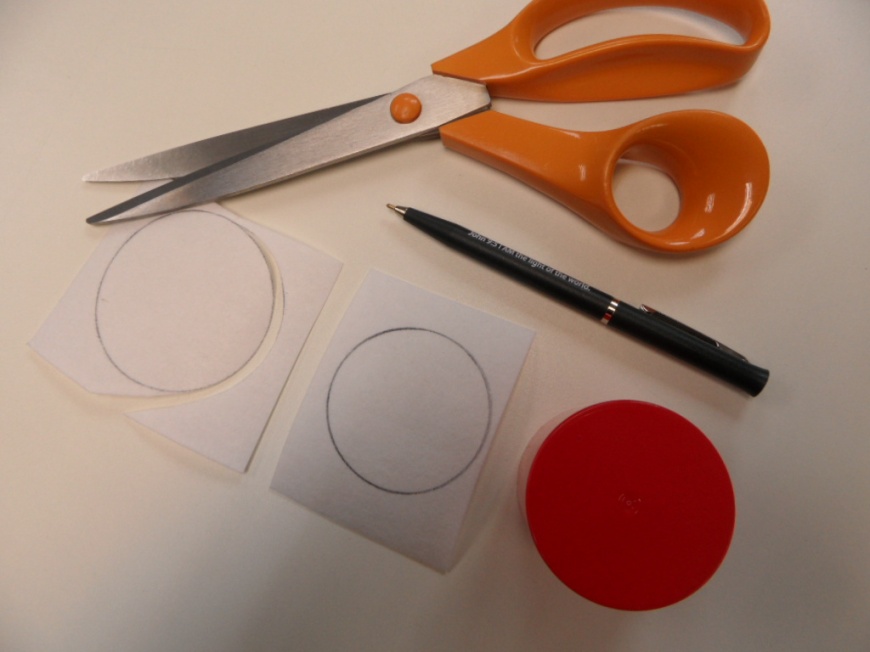
Okay… ready to start? Find two circle shapes, the largest will be the finished size of your badge so don’t go too big! I found the lid of a spray can just about the right size, to give you and idea. Carefully draw around your shapes onto the vilene.
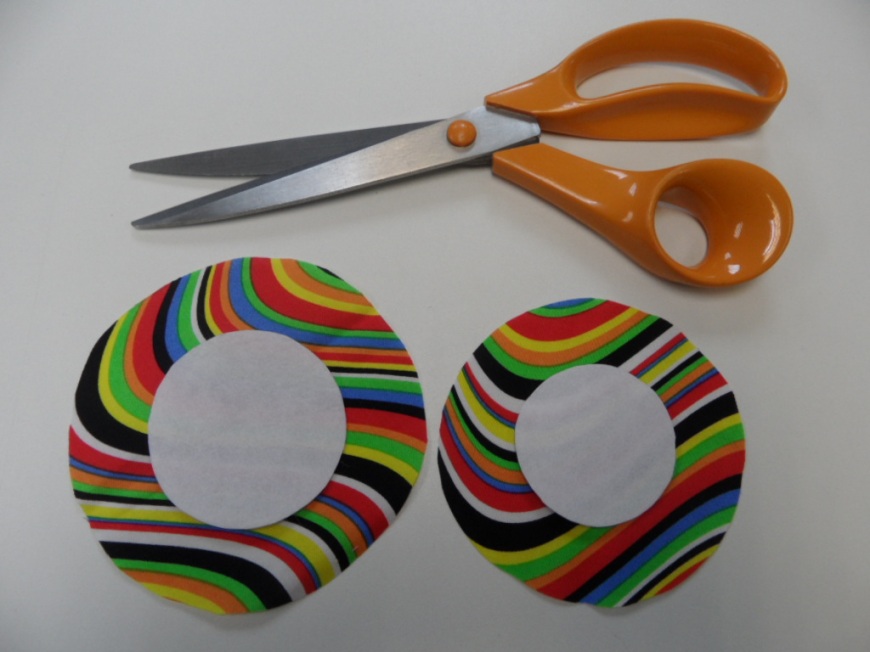
Next, cut out the circles with a sharp pair of scissors. If you are making these with children, please supervise them at all times when using sharp blades.
Cut out your fabric circles with an allowance of approx 1cm larger than the vilene circles.
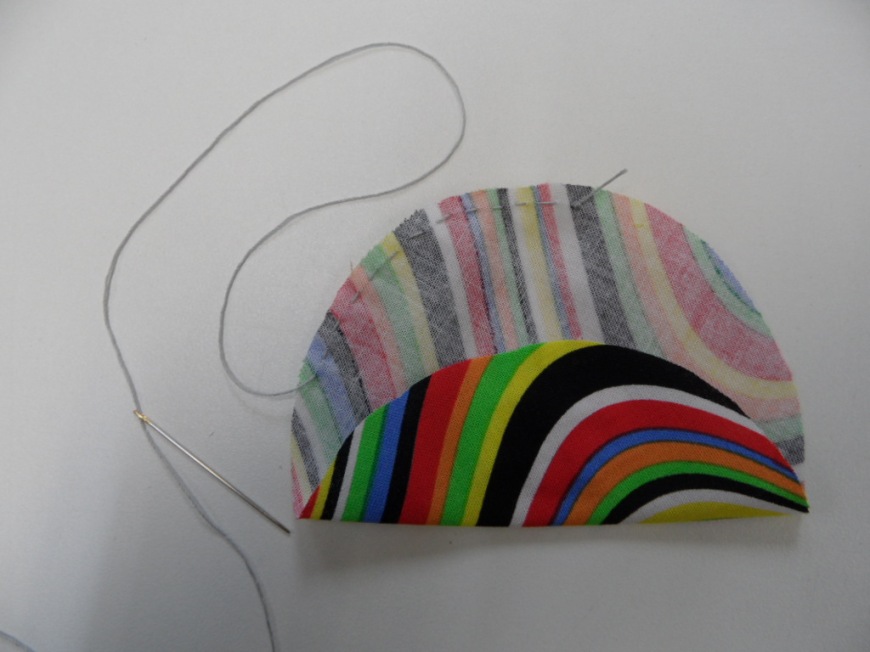
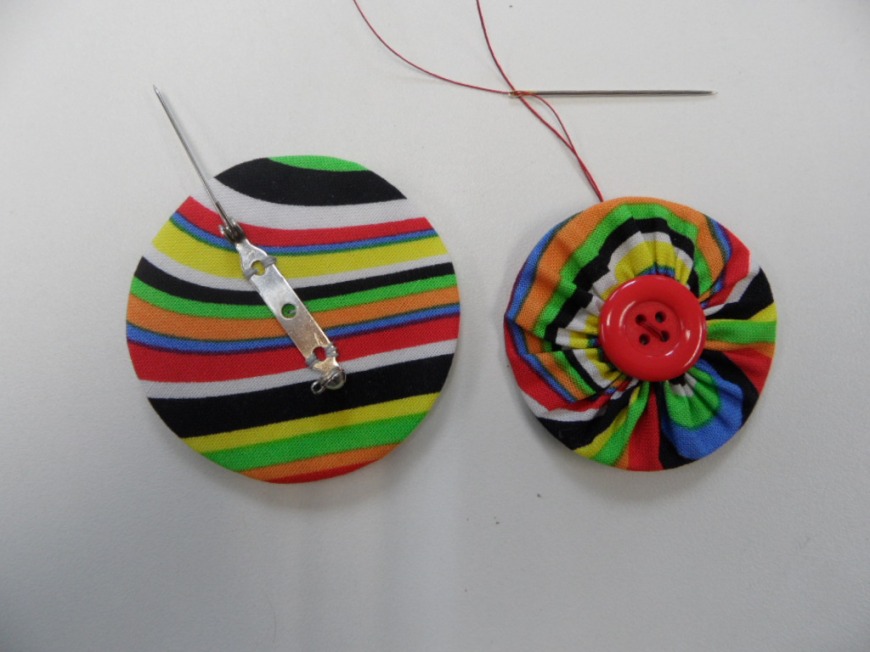
With tiny running stitches sew around each fabric circle close to the raw edges, but not too close that the fabric frays!
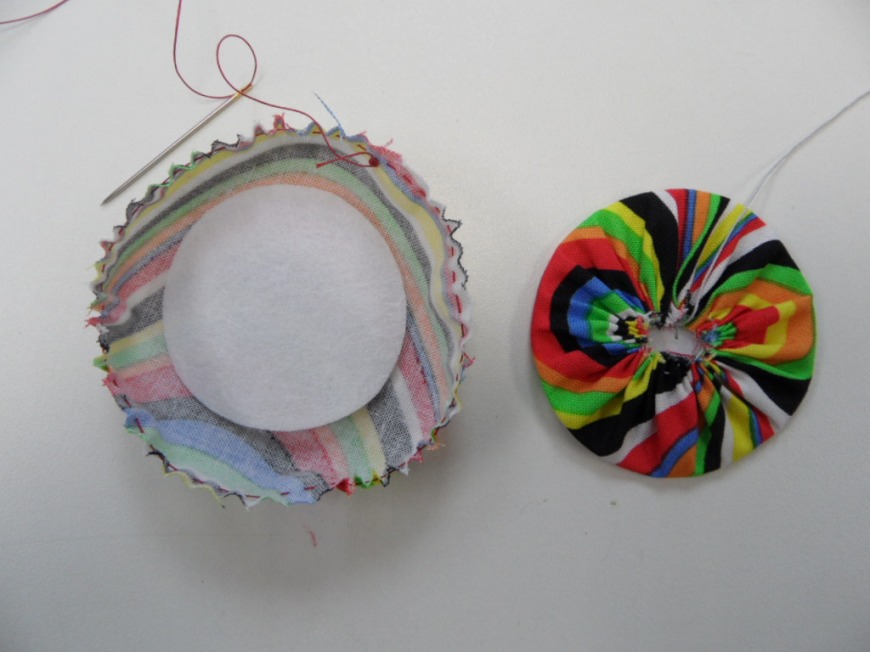
Place the vilene circle in the centre of the fabric circle and gently draw in the thread tightly and hold with a few stitches.
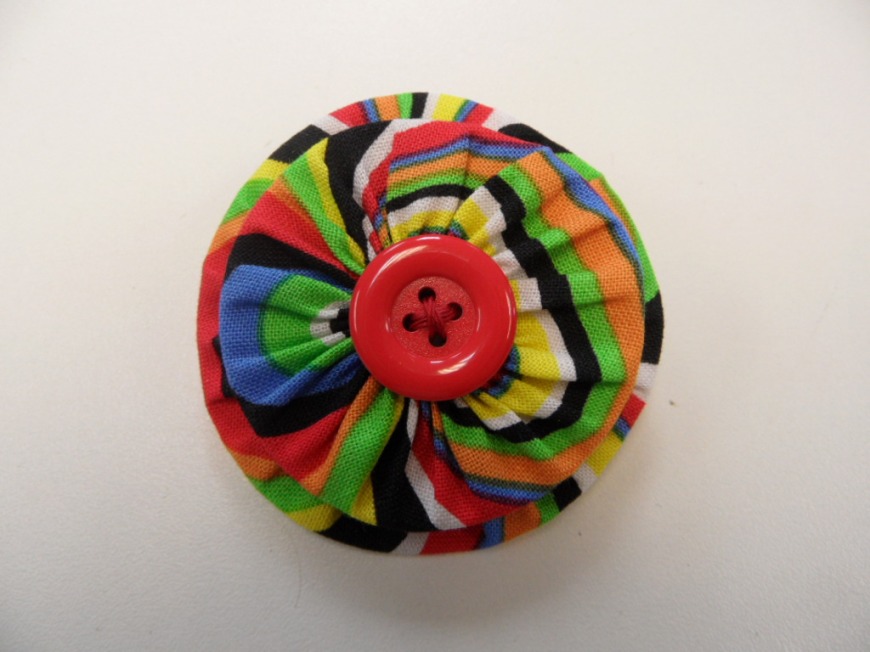
Note…BEFORE joining the two together. On the larger circle sew the badge pin on the FLAT side in the centre using the two outside holes. Sew the button on the FRONT (with gathers) of the smaller circle to cover the raw edges…. you will see now why you need a largish button! Place the two together and stitch right through both circles, the button and the pin (use the centre hole on the pin) and secure with a few tiny stitches.
This one is a bit on the BRIGHT side, reminds me of clowns, but you can make what ever colour combination you like!
Why not try two different colours, or two co-ordinating colours, your favourite colour, or a combination of colours for an occasion such as Christmas, or green for St Patricks Day. Add a really fancy snazzy button… the possibilities are endless!
As a friend of OMG, I will be donating all of my badges to Oxfam Skipton to add to their special OMG section in the shop. If you want to buy one already made, please pop into the shop soon as that is where this little lot will be! http://www.oxfam.org.uk/fashion-blog/2013/10/oxfam-skipton-omg-oxfam-makers-group
I pinned each one onto a “old fashioned” tie-on label and printed OMG on each and added a little love heart!
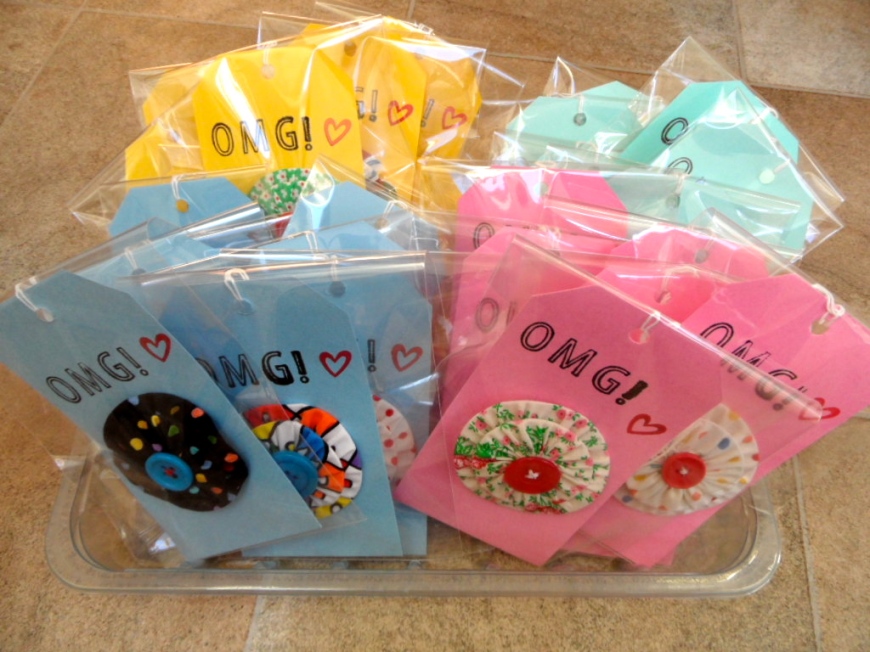
I also had a packet of cello bags to slip each badge label in as I thought it might be easier for the good folk at Oxfam to simply pop on display and “fingers crossed” sell a few to add a few £’s to the overall takings… good luck OMG!
Best wishes, Jay X
I would welcome your messages, would love to hear from you, please leave me a comment, whizz by the email part and go straight to post comment….thanks.
My little extra snippet for you from Snoo “There are 34 bathrooms in the White House”

